


Webflow
March 24, 2026

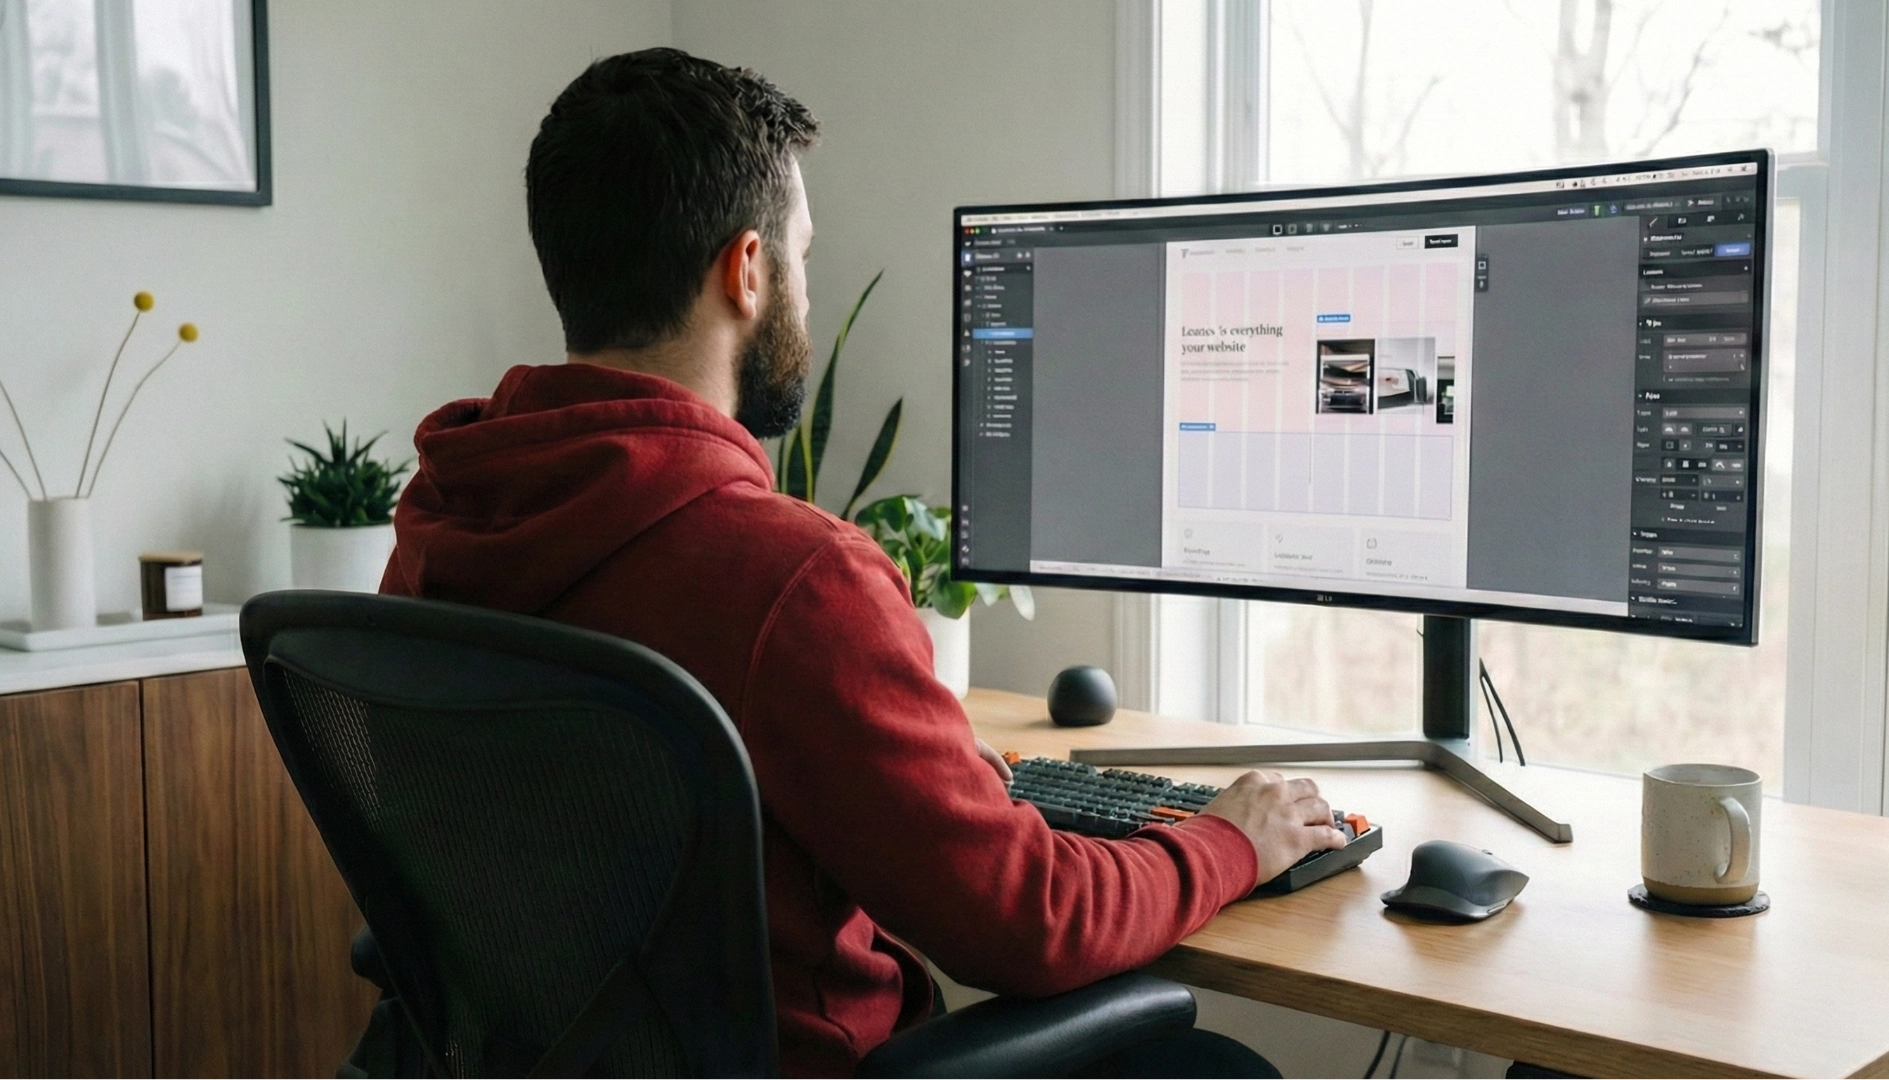
Transform your website with expert Webflow development
From brand identity to Webflow development and marketing, we handle it all. Trusted by 50+ global startups and teams.
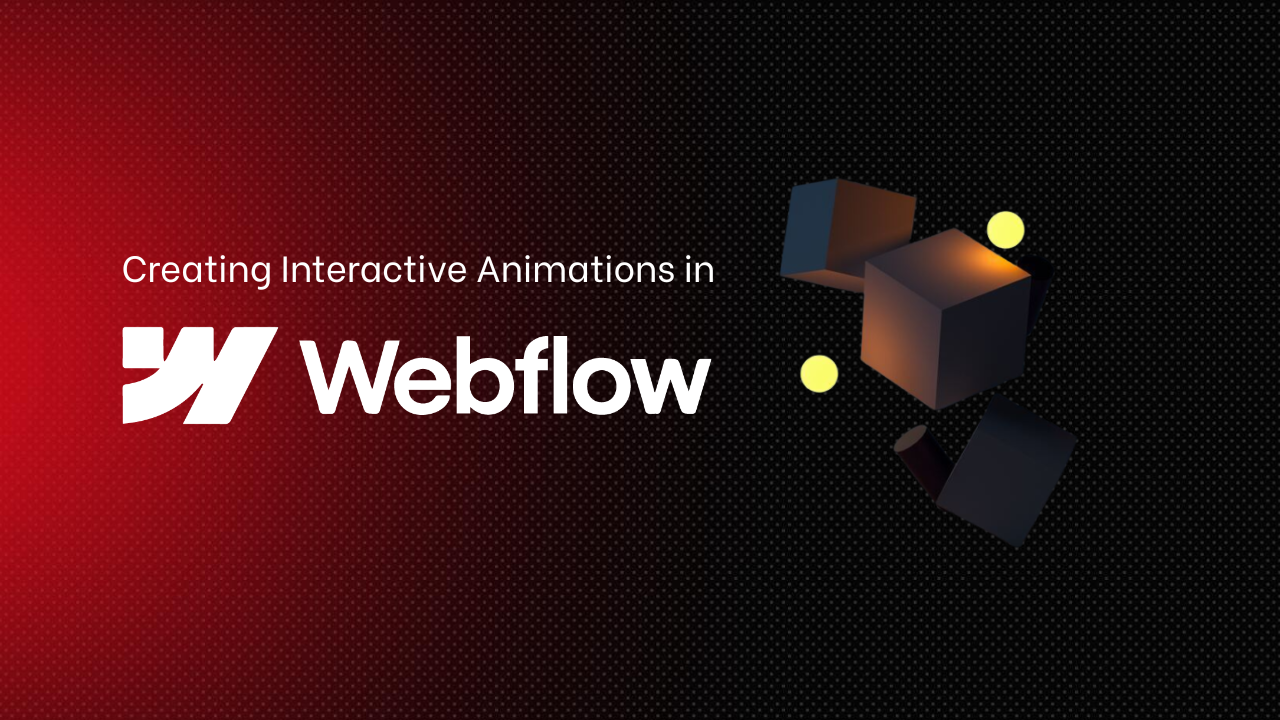
The modern web does not reward stillness. In a landscape where users form judgments within milliseconds and attention spans shrink by the quarter, motion has become the defining language of standout digital experiences. Webflow has always sat at the frontier of visual web building, but the platform entered a genuinely new era in October 2024 when it acquired GreenSock (GSAP), the animation engine that powers over 12 million websites globally. That acquisition, followed by the July 2025 launch of Webflow Interactions with GSAP, fundamentally changed what designers can build without touching a single line of JavaScript.
This guide goes beyond surface-level explanations. It covers the full technical architecture of Webflow's animation system, from triggers and action types to SplitText, ScrollTrigger, Staggers, Lottie, Rive, and Spline, complete with practical steps you can follow inside the Designer right now.
Before building a single animation, you need to understand how Webflow's interaction system is structured at a technical level. As of summer 2025, Webflow ships two parallel systems that coexist inside the Designer.
Interactions with GSAP launched in summer of 2025 and is the most robust and up-to-date version of the interactions system. It uses the GSAP engine for creating, editing, and displaying interactions. This version includes built-in support for SplitText, Staggers, and ScrollTrigger, a horizontal timeline, an advanced easing editor, and increased ease of reuse for interactions across a project.
Under the hood, every interaction you configure visually generates GSAP-compliant tween code. Webflow designers and developers can build smooth, reliable, and performant interactions with the confidence that best-in-class GSAP code is running beneath the visual interface for all of them.
Classic Interactions is the version that existed prior to Interactions with GSAP and employs a page and element triggers to animations creation model. It remains available and is still suitable for simple single-step animations. However, using multiple versions of interactions on a site means each version requires loading its own resources, so the more versions you use across a project, the less performant your site will be. For new projects, Webflow recommends IX3 as the default approach.
Every interaction in Webflow follows three core components. Understanding each one precisely prevents the confusion that most beginners experience when animations do not behave as expected.
The event that initiates the interaction. A trigger, like clicking an element or scrolling down the page, starts an animation or can even continuously animate one or more elements on the page simultaneously. Supported element triggers include mouse hover enter and exit, mouse click first and second, mouse down, mouse up, scroll into view, scroll out of view, while scrolling in view, and device-specific triggers.
The element or elements that receive the animated change. Webflow interactions are especially well-suited to manipulating multiple elements on a page, or multiple aspects of a single element, in response to the site visitor's actions. The target does not have to be the same element as the trigger, which unlocks powerful compositional animation patterns.
What actually happens to the target. There are four action types you can add to an interaction:
Webflow supports three distinct animation directions, each designed for specific situations. Choosing the wrong type is one of the most common causes of unexpected animation behavior.
Sets starting values in the Interactions panel and then tweens the element to its current styled values as defined in the Style panel. This is ideal for entrance animations where the element already has its resting state defined visually and you want it to animate in from a different starting position.
Starts from the element's current styled values in the Style panel and then tweens to values you set in the Interactions panel. This is best for exit animations or state changes where you define where an element ends up after the interaction fires.
Lets you set both start and end values entirely within the Interactions panel. This gives you absolute precision for complex sequences where the element's default style must not interfere with the animation start or end state. Use this when you need complete control over both endpoints of a tween regardless of what the Style panel contains.
Apply changes instantly at a point on the timeline with a duration that is always zero. Use set actions for changes that should not be tweened, such as toggling the display property of a visibility layer during a sequence without any interpolated motion between states.
When you configure an action, you will typically adjust three sets of settings that together define the character of the motion. These settings distinguish professional animation work from amateur results.
Controls the relative acceleration and deceleration of an action. You can choose from a preset library or open the advanced easing editor to craft a custom cubic-bezier curve. The easing curve is arguably the single most impactful variable in whether an animation feels natural or robotic. Power3 InOut and Expo Out are common professional choices for entrance animations. Elastic and Bounce easings should be used rarely and only when the brand identity explicitly calls for a playful, physical quality.
Determines whether target elements animate together or sequentially. You can define the total time from the first element to the last, or set a fixed delay between each target element's action. Stagger direction options include forward, backward, center-outward, and randomized, each producing a different choreographic effect. A center-outward stagger on a row of five cards creates a radial reveal that draws the eye to the middle of the composition before expanding outward.
Controls how many times an action repeats. You can define a precise number of repetitions, set it to infinite, or repeat in a back-and-forth yoyo manner where the animation plays forward then reverses on each cycle. Infinite repetition is appropriate for looping ambient effects like pulsing indicators or rotating icons.
SplitText is one of the most requested animation techniques on the web and is now fully accessible inside Webflow's visual Designer without writing code.
SplitText works by breaking a text element's content into individual span elements for each character, word, or line, then targeting those spans with separate tweens. It includes automatic screen reader accessibility, masking for reveal effects, and responsive line splitting. Inside Webflow's IX3 interface, you select SplitText as the action type, choose whether to split by characters, words, or lines, enable masking if you want a clipped reveal, set the stagger delay in milliseconds, and configure the From or FromTo animation on the resulting elements.
Masking wraps each line, word, or character in an extra element with visibility clip. This creates the popular text-rising-from-below effect seen on high-end agency sites, where letters appear to emerge from beneath an invisible floor rather than simply fading in. Without masking, the animation is visible from wherever the element happens to sit on the page. With masking, the clip container provides a defined boundary that makes the reveal feel architectural rather than floating.
The autoSplit option handles responsive behavior automatically. When the container resizes and text reflows across different line breaks, SplitText recalculates the split and re-runs the animation on the newly created elements. Always create your animations inside the onSplit callback when using autoSplit so that the motion applies to the freshly split elements rather than orphaned spans from the previous split state.
ScrollTrigger is the industry standard for creating scroll-driven animations, offering precise control over when, how, and where your animations execute as users scroll through your page.
The animation fires once when the element crosses a defined threshold in the viewport. After firing, the animation does not repeat unless explicitly configured to do so. This is the correct choice for entrance animations on sections, cards, and headings. Set this to fire once for the cleanest user experience on content-heavy pages.
This mode binds animation progress directly to the scroll position. As users scroll, animations advance proportionally, creating effects like parallax, pinned sections, and content reveals that feel physically connected to the act of scrolling. The animation moves forward when scrolling down and reverses when scrolling up, giving users a sense of physical control over the page.
One of the most significant UI departures in Webflow IX3 is the shift from a vertical animation list to a horizontal timeline editor. The new GSAP panel gives you a horizontal timeline view, grouped animation layers, and full access to GSAP-specific features.
The timeline allows you to scroll, scrub, zoom, and pan through your animation sequence. Each action occupies a visual block on the timeline that you can drag to reposition its start time, stretch to change its duration, and overlap with other actions to create simultaneous motion. When two action blocks overlap on the timeline, both tweens run concurrently, which is how you create compound animations where an element moves, scales, and fades all at the same time.
Interactions are now reusable across your Webflow site. You can define an interaction once and apply it to various elements or classes across your website, saving time and maintaining design consistency without duplication. Save an interaction as a preset from the Interactions manager panel, search for it by name when setting up any subsequent element, and apply it with a single click. Changes made to the source interaction propagate across all instances, making site-wide animation updates a one-step process. This system-level thinking around animation reuse is exactly what separates a professional webflow design agency workflow from a project-by-project approach.
Webflow's native interaction system works seamlessly alongside three major external animation formats, each suited to different creative requirements.
Lottie files are JSON exports of animations created in Adobe After Effects using the Bodymovin plugin. Webflow integrates with Lottie so you can play or pause an embedded Lottie animation or control its settings on demand through the interaction timeline. In IX3, Lottie actions are a dedicated action type inside the horizontal timeline, meaning you can synchronize a Lottie playback state with a scroll trigger or a click sequence alongside your own element animations.
Webflow introduced Rive animation file support, allowing designers to integrate sophisticated animations directly into their websites. Rive is specifically designed for state machines, making it the right choice when your animation needs to respond to multiple user inputs and transition between states conditionally based on logic. This is something Lottie is not architecturally capable of handling, as Lottie animations are purely playback-based with no conditional branching.
Spline 3D scenes can be embedded directly into Webflow pages for immersive experiences. Spline actions inside Webflow's interaction timeline let you modify and animate Spline 3D scenes in response to Webflow events. A scroll event in Webflow can trigger a camera movement or object transformation inside an embedded Spline scene, creating a seamless connection between the 2D page scroll and a fully 3D interactive environment.
Understanding performance is non-negotiable for any serious Webflow developer or designer working on production sites.
The most important performance principle in Webflow animations is GPU compositing. Only two CSS properties trigger GPU-composited rendering: transform (which covers translateX, translateY, translateZ, scale, rotate, and skew) and opacity. Always animate transform and opacity. Never animate layout properties such as width, height, top, left, margin, or padding. Animating layout properties forces the browser into a full layout recalculation and paint cycle on every animation frame, which causes jank and poor performance on low-power mobile devices.
Webflow supports adapting designs for reduced motion so sites remain accessible to all users. A significant portion of web users have vestibular disorders or motion sensitivities that make heavy animations uncomfortable or physically nauseating.
Inside Webflow's IX3 system, breakpoint-level control allows you to disable specific interactions on certain device sizes. For broader prefers-reduced-motion support, add the following custom CSS in Site Settings under Custom Code:
@media (prefers-reduced-motion: reduce) { * { animation-duration: 0.01ms !important; animation-iteration-count: 1 !important; transition-duration: 0.01ms !important; } }
This ensures that even if Webflow's visual controls do not expose a reduced-motion toggle for a specific interaction, the operating system-level preference communicated through the browser is still respected. All animations collapse to near-instant transitions, preserving state changes while eliminating motion that could cause discomfort.
This walkthrough combines three IX3 features simultaneously: SplitText, Staggers, and ScrollTrigger. It produces a line-by-line text reveal where each line rises from a clipping mask as the user scrolls to that section.
Webflow enables developers to load the GSAP library and any plugins from its CDN. The practical decision framework for when to use each approach is straightforward.
Use the IX3 visual interface for entrance animations, scroll reveals, hover states, click toggles, and any SplitText or stagger effect. The visual interface is faster to build with, produces clean output, and allows non-technical collaborators to understand and modify the animation without developer involvement.
Use custom GSAP code embedded through Webflow's Head or Body custom code fields when you need physics-based motion, SVG path drawing, morphing between SVG shapes, or canvas-based particle systems. These are capabilities the visual interface does not currently expose. This level of technical animation execution is typically what clients look for when they hire webflow designer specialists for complex, bespoke builds where the motion brief exceeds the visual interface's current scope.
The most efficient production workflow combines both approaches. The IX3 visual interface handles the majority of interactions across the site. Custom GSAP code handles one or two signature moments, such as a physics-driven hero animation or a morphing SVG logo transition, that justify the additional development complexity.
Sites with well-implemented animations see 37% higher user engagement and 23% more conversions compared to static counterparts. The difference between generic portfolio sites and award-winning showcases consistently comes down to strategic use of scroll-triggered effects and micro-interactions that guide users, build trust, and create memorable brand experiences.
Webflow powers over 493,000 live websites as of 2025, with revenue growing 66% year-over-year to reach 213 million dollars. The acquisition of GreenSock in October 2024 changed the competitive landscape significantly. Features like SplitText, Staggers, and ScrollTrigger are now completely free for all Webflow users, including commercial projects. This eliminates a significant cost and technical barrier that previously meant only well-funded development teams could deliver this caliber of animation work.
Webflow's animation system in 2025 is no longer a convenience layer on top of basic CSS transitions. It is a production-grade visual motion development environment, replatformed entirely on GSAP, capable of producing the same caliber of animation work that previously required a dedicated front-end developer writing custom JavaScript. SplitText, ScrollTrigger, and Staggers are accessible through a horizontal timeline interface without a single line of code. Lottie, Rive, and Spline integrations extend the system into complex motion graphics and interactive 3D. Reusable interactions and class-based animation presets allow the system to scale from a single landing page to a hundred-page enterprise site with consistent motion behavior throughout.
The difference between a Webflow site that performs averagely and one that wins awards while converting users at measurably higher rates comes down to intentional, technically sound animation. Every motion decision should earn its place by improving the experience for the user, guiding attention, reinforcing behavior, or providing feedback that makes the interface feel alive and responsive. Master that principle alongside the technical system covered in this guide, and the quality of what you build will reflect it in every metric that matters.
Yes, Appsrow offers ongoing Webflow support, updates, and optimization services to keep your website fast, secure, and aligned with your evolving business needs.
Yes, Appsrow can migrate websites from platforms like WordPress, Wix, or custom code to Webflow. We ensure content accuracy, improved performance, responsive layouts, and SEO friendly structure during migration.
Appsrow provides end to end Webflow solutions, including UI UX design, custom development, CMS setup, and animations. Whether you have a Figma design or need a complete website from scratch, we handle the entire process.
Appsrow specializes in building custom Webflow websites tailored to business goals. We focus on clean design, scalable CMS structure, performance optimization, and long term usability rather than one size fits all templates.
Yes. Agencies like AppsRow provide ongoing maintenance, content updates, bug fixes, speed optimization, SEO monitoring, and new feature development to keep your website performing at its best.
AppsRow offers 100% custom design, fast development, optimized CMS structure, lightning-fast performance, and seamless integrations. With expert Webflow developers and long-term support, AppsRow helps businesses grow online.
The cost depends on the project. Simple landing pages start at $300, business websites range from $500–$2,000, and advanced CMS or eCommerce sites range from $2,000–$6,000+. AppsRow provides flexible pricing based on your needs.
They provide custom UI/UX design, clean Webflow development, advanced animations, CMS structuring, SEO optimization, Zapier/Make integrations, and maintenance services—ensuring a fully scalable and high-performing website.
Certified partners bring years of experience, follow best practices, deliver pixel-perfect builds, and ensure your website performs at enterprise level. They also reduce development time and improve your website’s SEO and performance score.
Webflow Development Partners are highly experienced agencies that specialize in building fast, responsive, and SEO-optimized Webflow websites. They handle design, development, CMS setup, integrations, automations, and long-term support.
AppsRow delivers high-performance Webflow websites with modern UI, fast loading speed, perfect responsiveness, SEO optimization, and full CMS setup. With professional developers and seamless support, AppsRow helps businesses grow quickly and efficiently.
Yes. Agencies offer monthly maintenance plans that include backups, updates, bug fixes, content changes, SEO monitoring, and performance optimization.
Yes. Agencies can migrate your content, pages, blog posts, and CMS structure from WordPress to Webflow seamlessly - without losing SEO rankings.
Yes. Webflow is excellent for SEO because it outputs clean code, fast loading speeds, automatic SSL, built-in schema tools, alt tags, and editable meta fields. A Webflow Development Company ensures your website is fully optimized for Google.
A professional Webflow Development Company offers a full team (designers, developers, SEO experts, QA testers), faster delivery, better project management, and long-term support. This ensures a more reliable and scalable website compared to hiring a single freelancer.
A Webflow Development Company specializes in designing, developing, and optimizing websites using Webflow. They handle everything—from custom design, responsive development, animations, CMS setup, SEO, to integrations like HubSpot, Make, Zapier, and API connections.
.webp)
March 24, 2026
.webp)
March 24, 2026
Appsrow transformed our website with a fresh layout that adheres to our new design guidelines while integrating CMS-driven updates. Their responsiveness and rapid implementation of changes ensured a visually appealing, fully responsive platform delivered right on schedule.

Appsrow Solutions revolutionized our digital presence by designing and building our website from the ground up to perfectly capture our legal advisory expertise. Their agile approach, meticulous attention to detail, and on-time delivery resulted in a dynamic, user-friendly platform that exceeded our expectations.

Appsrow team turned our agency homepage into a visually stunning and highly efficient platform. Their expert design, fast execution, and clear communication not only boosted user engagement and conversion rates but also elevated our brand’s online style to a level our team truly loves.
