


Webflow
May 7, 2026

.webp)
Transform your website with expert Webflow development
From brand identity to Webflow development and marketing, we handle it all. Trusted by 50+ global startups and teams.
A Webflow site may look visually perfect during the design phase, but responsiveness is where real technical quality is tested. When layouts are not built with scalability in mind, they break across devices, causing misalignment, overflow issues, and poor usability. This is not a limitation of Webflow, but a result of how the site is structured and styled.
Responsive design in Webflow is deeply tied to CSS behavior, layout systems, and spacing logic. It is about creating a flexible system rather than fixing individual elements at each breakpoint. When done correctly, your site becomes easier to maintain, faster to load, and consistent across all screen sizes.
This guide explains the technical approach to making a Webflow site responsive using a combination of structured steps and practical implementation strategies.
Webflow follows a desktop first approach where styles are applied at the base level and cascade down to smaller screens. This means your desktop design directly influences tablet and mobile layouts.
From a technical standpoint, this behavior is powered by max width media queries. If not managed properly, it can lead to inconsistent layouts and redundant styling.
A better approach is to define strong global styles first and then make minimal, targeted adjustments for smaller screens. This keeps your CSS clean and predictable.
Every responsive layout starts with a well organized DOM. In Webflow, the way you nest elements directly impacts how layouts behave across breakpoints.
Instead of randomly placing elements, follow a structured hierarchy. A typical scalable structure includes sections for grouping, containers for alignment, wrappers for layout control, and content elements inside.
Keeping your structure clean reduces the need for excessive styling and prevents layout issues later.
Fixed units are one of the biggest reasons layouts break on smaller screens. A responsive layout must be flexible by default.
Instead of defining everything in pixels, use relative units that adapt based on screen size.
Avoid setting fixed heights for dynamic content. This often leads to overflow when content grows or screen size changes.
A flexible layout reduces dependency on breakpoint specific fixes.
A technically sound responsive layout often uses a combination of width and max width.
This approach ensures that elements remain fluid but do not stretch too much on larger screens.
This pattern is especially useful for containers, images, and text sections. It maintains readability while allowing flexibility.
Flexbox is one of the most efficient tools for handling responsiveness in Webflow. It allows layouts to adapt dynamically without requiring multiple adjustments.
For example, a row based layout on desktop can be converted into a column layout on mobile with a single change.
Flexbox reduces complexity and allows layouts to respond naturally to screen changes.
While Flexbox works well for linear layouts, Grid is better for more structured designs.
Grid allows you to define rows and columns, making it easier to manage complex sections like product grids or feature blocks.
This ensures that content remains readable and properly spaced across all devices.
Grid also provides better control over placement, which is useful for maintaining visual consistency.
Spacing is often handled inconsistently, which leads to design issues across breakpoints. Instead of random spacing, use a defined system.
Spacing should scale logically as screen size changes. Larger screens can handle more spacing, while smaller screens require tighter layouts.
A structured spacing system improves both responsiveness and visual balance.
Overflow is a common problem in responsive design. It happens when elements exceed their container size.
This is usually caused by fixed dimensions, long text, or improper layout settings.
Testing edge cases such as long headings or dynamic content is important to ensure stability.
Typography must adapt to different screen sizes without losing readability. Large text that works on desktop can become overwhelming on mobile.
Instead of using fixed font sizes, use scalable units and adjust them where needed.
Typography should remain clear and accessible across all devices.
Images must scale correctly while maintaining performance. Poorly handled images can break layouts or slow down your site.
Always ensure that images fit within their containers and adjust based on screen size.
Webflow helps by generating responsive image sizes, but proper implementation is still required.
Navigation is a critical part of responsive design. A complex desktop menu often does not translate well to mobile.
You need to simplify navigation while maintaining usability.
Navigation should remain intuitive and accessible regardless of device.
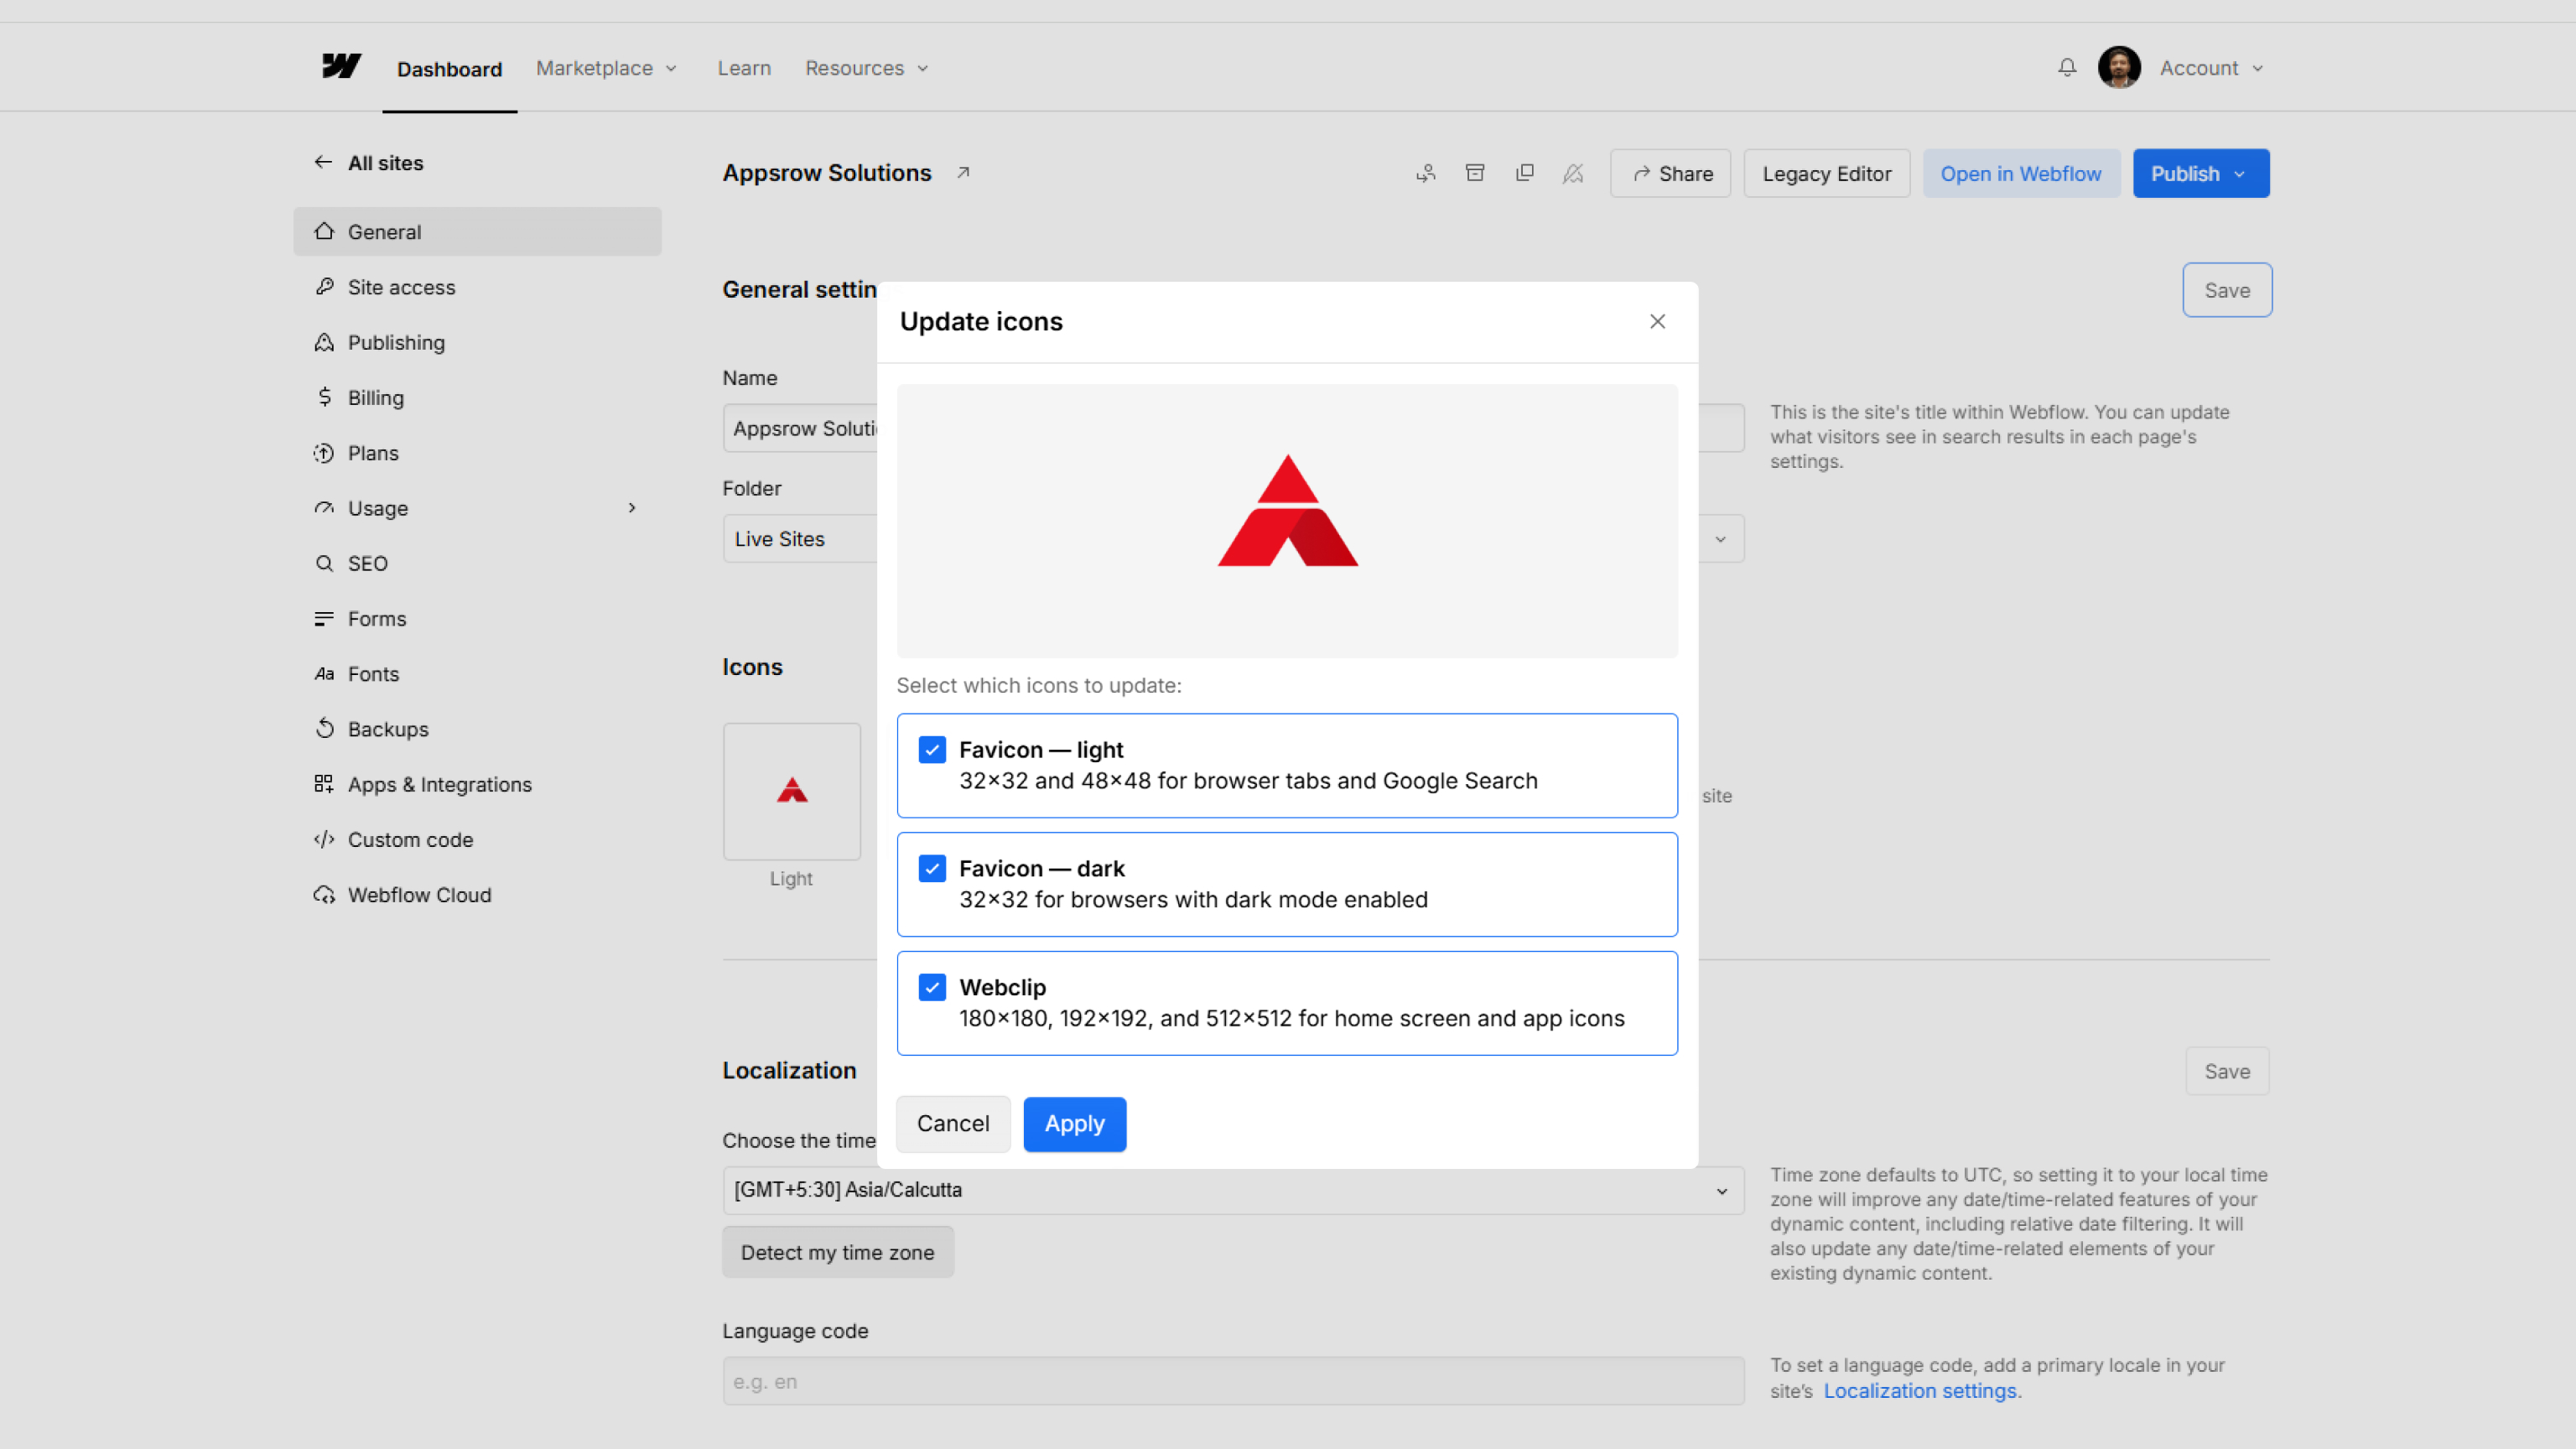
Webflow allows you to control element visibility at different breakpoints. This is useful for optimizing layouts for specific devices.
For example, large visuals that work on desktop may not be suitable for mobile.
Use visibility settings carefully to maintain consistency and performance.
Responsiveness is not just about layout. Performance plays an equally important role.
A site that adapts well but loads slowly still delivers a poor experience.
Performance optimization ensures your responsive design works efficiently across all devices.
Testing is essential for identifying issues that may not be visible during design.
You should not rely only on Webflow preview mode. Real device testing provides more accurate results.
Continuous testing helps maintain consistency and prevents unexpected issues after launch.
Many responsiveness issues come from avoidable technical mistakes. These mistakes often increase complexity and reduce scalability.
Avoiding these mistakes keeps your design clean and maintainable.
Once you are comfortable with the basics, you can use advanced techniques to refine your layouts further.
These techniques provide more flexibility but should be used carefully to avoid unnecessary complexity.
Building a technically sound responsive site requires experience and attention to detail. Many businesses prefer working with a webflow development agency to ensure their website is optimized for performance and scalability.
Professional webflow development focuses on clean structure, efficient styling, and long term maintainability, which are essential for high quality responsive design.
Making a Webflow site responsive is a technical process that requires a strong foundation in layout systems, CSS behavior, and performance optimization. It is not about adjusting individual elements but about building a flexible system that adapts naturally across devices.
By combining structured layouts, flexible units, proper use of Flexbox and Grid, and consistent testing, you can create a responsive site that performs reliably on all screen sizes.
As devices and user expectations continue to evolve, responsive design will remain a critical factor in website success. A well implemented approach ensures your Webflow site stays scalable, efficient, and user friendly over time.
Mobile navigation needs to be collapsed, minimal, and touch-friendly. Complex multi-level desktop menus with hover-based dropdowns do not translate to touch screens where there is no hover state. Webflow's built-in Navbar component provides a solid starting point with its hamburger menu toggle, but the visual design, animation, and content structure of the mobile menu still require deliberate attention. Tap targets — buttons and links — should be at least 44 by 44 pixels to meet accessibility standards and prevent mis-taps. Navigation labels should be short and clear. If your site has a complex information architecture, a mobile navigation redesign may be needed rather than simply collapsing the desktop menu. Our Webflow Design service designs mobile navigation systems as a distinct experience rather than a shrunk-down version of the desktop menu.
Overflow happens when an element extends beyond its parent container's boundaries — usually visible as horizontal scrolling on mobile. The most common causes are fixed pixel widths that exceed the screen size, long unbreakable text strings like URLs or code snippets, images without max-width constraints, and elements positioned absolutely without proper boundary awareness. The fixes involve setting images to width 100% with no fixed height, enabling flex wrap on row-based layouts so items reflow instead of overflow, and using overflow hidden or auto on containers where content may unpredictably exceed boundaries. Our Webflow Development team tests every build systematically for overflow conditions — including edge cases like long dynamic CMS content — before any site goes live.
Responsive typography requires two things working together — scalable units and deliberate size adjustments at key breakpoints. Using rem units for all font sizes ensures consistency and makes global scaling straightforward by adjusting the root font size. Heading sizes that work well at 64px on desktop are often far too large on a 375px mobile screen and need to be reduced to maintain readability and proper visual hierarchy. Line height should also be adjusted for smaller screens since tighter line heights that read well on desktop can feel cramped on mobile. Our Webflow Design team builds typography systems with a defined scale for each breakpoint, ensuring that headings, body text, and UI labels all remain readable and proportional on every device.
Webflow provides five breakpoints — Desktop (base), Tablet, Mobile Landscape, Mobile Portrait, and an optional larger Desktop breakpoint. Styles applied at the Desktop level cascade down to all smaller breakpoints. Styles applied at a smaller breakpoint only override the inherited styles at that size and below. The most common mistake is applying too many overrides at each breakpoint individually, which creates a tangled mess of conflicting styles that becomes extremely difficult to maintain. The correct approach is to define strong, flexible global styles at the Desktop level — using relative units, Flexbox, and Grid — and then make only minimal, targeted adjustments at smaller breakpoints. Our Webflow Maintenance service regularly audits client sites for breakpoint bloat and cleans up override-heavy stylesheets to restore maintainability.
Each unit type serves a specific purpose, and mixing them correctly is what makes a layout truly flexible. Percentages work best for element widths, allowing them to scale fluidly within their parent container. Rem units are ideal for typography and spacing because they scale consistently relative to the root font size. Viewport units like vw and vh are useful for full-screen sections or dynamic spacing that should be proportional to the screen itself. Fixed pixel values should generally be avoided for widths and heights on layout elements — they are acceptable only for borders, icon sizes, or very specific decorative details. Our Webflow Design service establishes a consistent unit system before any styling begins, which prevents the most common causes of responsive layout failure.
Flexbox is best suited for linear, one-dimensional layouts — think navigation bars, card rows, or content that needs to reflow from a horizontal row on desktop to a vertical stack on mobile. A single flex direction change handles the entire transition without breakpoint-specific overrides. Grid is better for two-dimensional, structured layouts like feature blocks, product grids, or pricing tables — where both rows and columns need precise control. The most scalable approach is combining both: Grid to define the macro structure of a section, Flexbox to handle the micro-alignment of elements within each grid cell. Our Webflow Development team makes this distinction deliberate and consistent across every build to keep responsive behavior maintainable long term.
This is almost always caused by one of three root issues — fixed pixel dimensions that do not scale, improper nesting that creates rigid layout structures, or too many breakpoint overrides piled on top of each other. Webflow uses a desktop-first cascading style system, meaning desktop styles flow down to smaller screens. When desktop layouts are built with fixed widths, rigid heights, or absolute positioning, the cascade produces broken results on mobile rather than flexible adaptations. Our Webflow Development team audits existing sites for exactly these structural issues and rebuilds the layout foundation to produce clean, predictable responsive behavior across all devices.
Making a Webflow site responsive means building it so that its layout, typography, spacing, images, and navigation all adapt naturally and correctly across every screen size — from large desktop monitors to tablets and mobile phones. True responsiveness is not about fixing individual elements at each breakpoint after the fact. It is about building a flexible system from the very beginning using proper layout structures, relative units, and CSS behavior that scales predictably. Our Webflow Design service follows a mobile-first design philosophy where responsive behavior is planned into every section, wrapper, and component from the first design decision, not patched in at the end.

May 7, 2026
From brand identity to Webflow development and marketing, we handle it all. Trusted by 50+ global startups and teams.